

I love home decor projects! How about you?
Hi there! Today I'm here with my Creative Guest Team Member project for Clear Scraps for this month!
This project is created with the Circle Printer Tray Frame and the
The Printer Tray Frames measure approximately 12 x 12 inches. Each tray comes with 1 chipboard back, 3 chipboard cutouts and 1 acrylic divider. Be sure to remove the protective film from both sides of the acrylic when adding to your project.

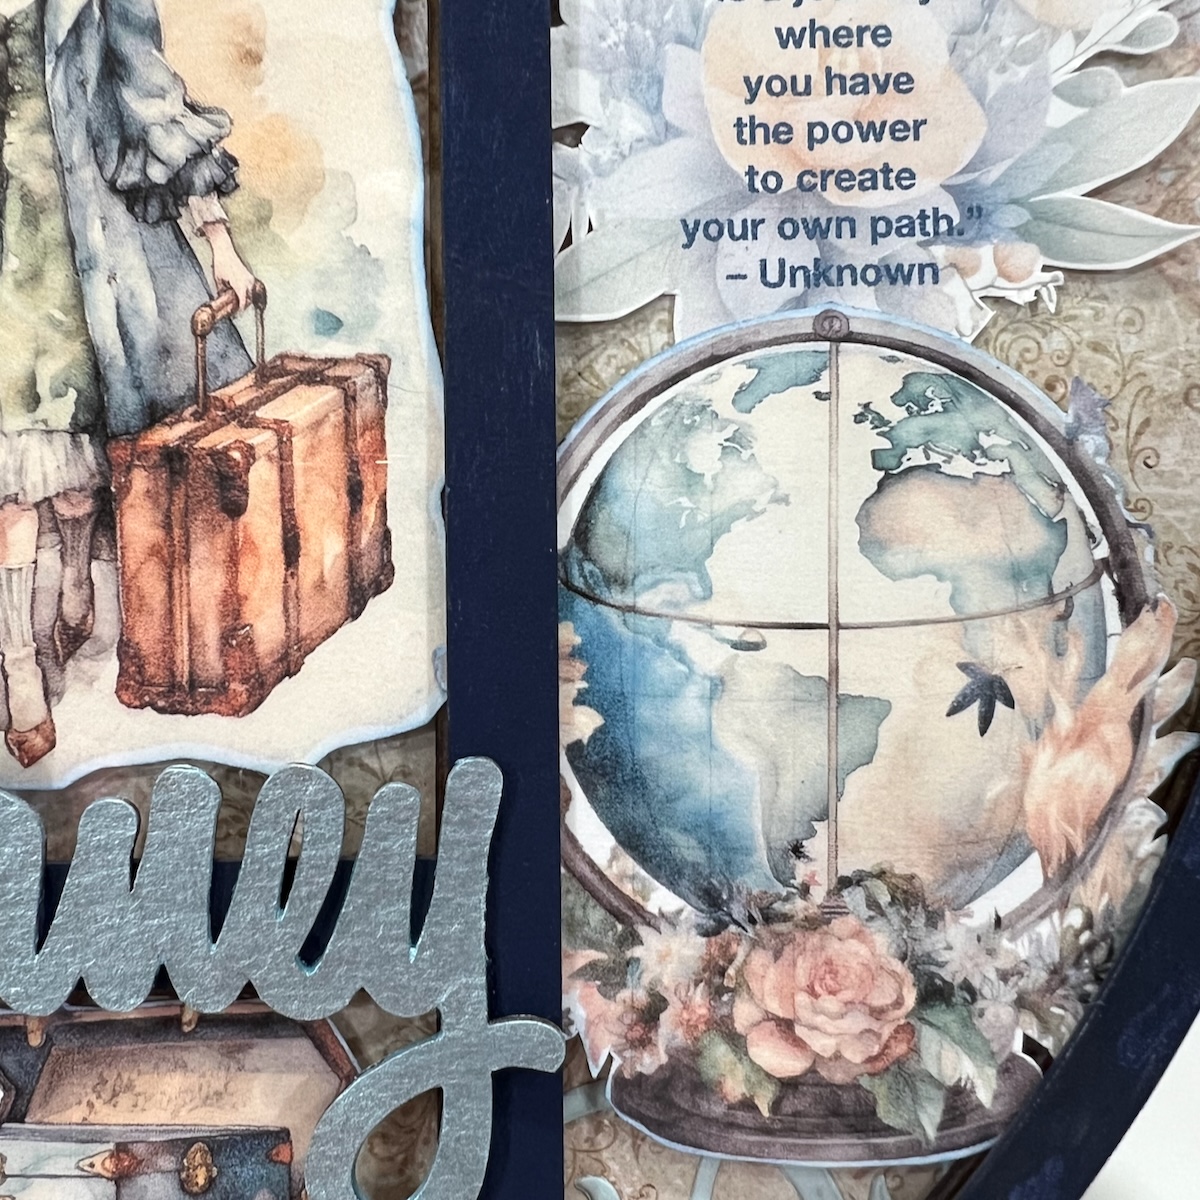
Since I was using the chipboard word title Jouney, I decided I would go with a travel theme and found some beautiful vintage style clip art on Etsy from Abroutique.
Next I chose a 12 x 18 inch patterned card stock from my stash that I felt coordinated well with the clip art. I will cover the chipboard back with this as my base. The back piece was traced onto the backside of the card stock, fussy cut and adhered with double sided tape.
I used a sanding block to smooth out the edges of the card stock.

Now it’s time to start adding the decorative pieces.
I printed the clip art pieces and fussy cut.

Then I placed one of the cutouts over the base and decided where to place each piece.
There were a few spots where I felt something else was needed, so I die cut some flourishes. Some flowers were fussy cut from the left over pieces of the patterned card stock used. I also punched a border piece and found a border sticker from my stash to use as well.
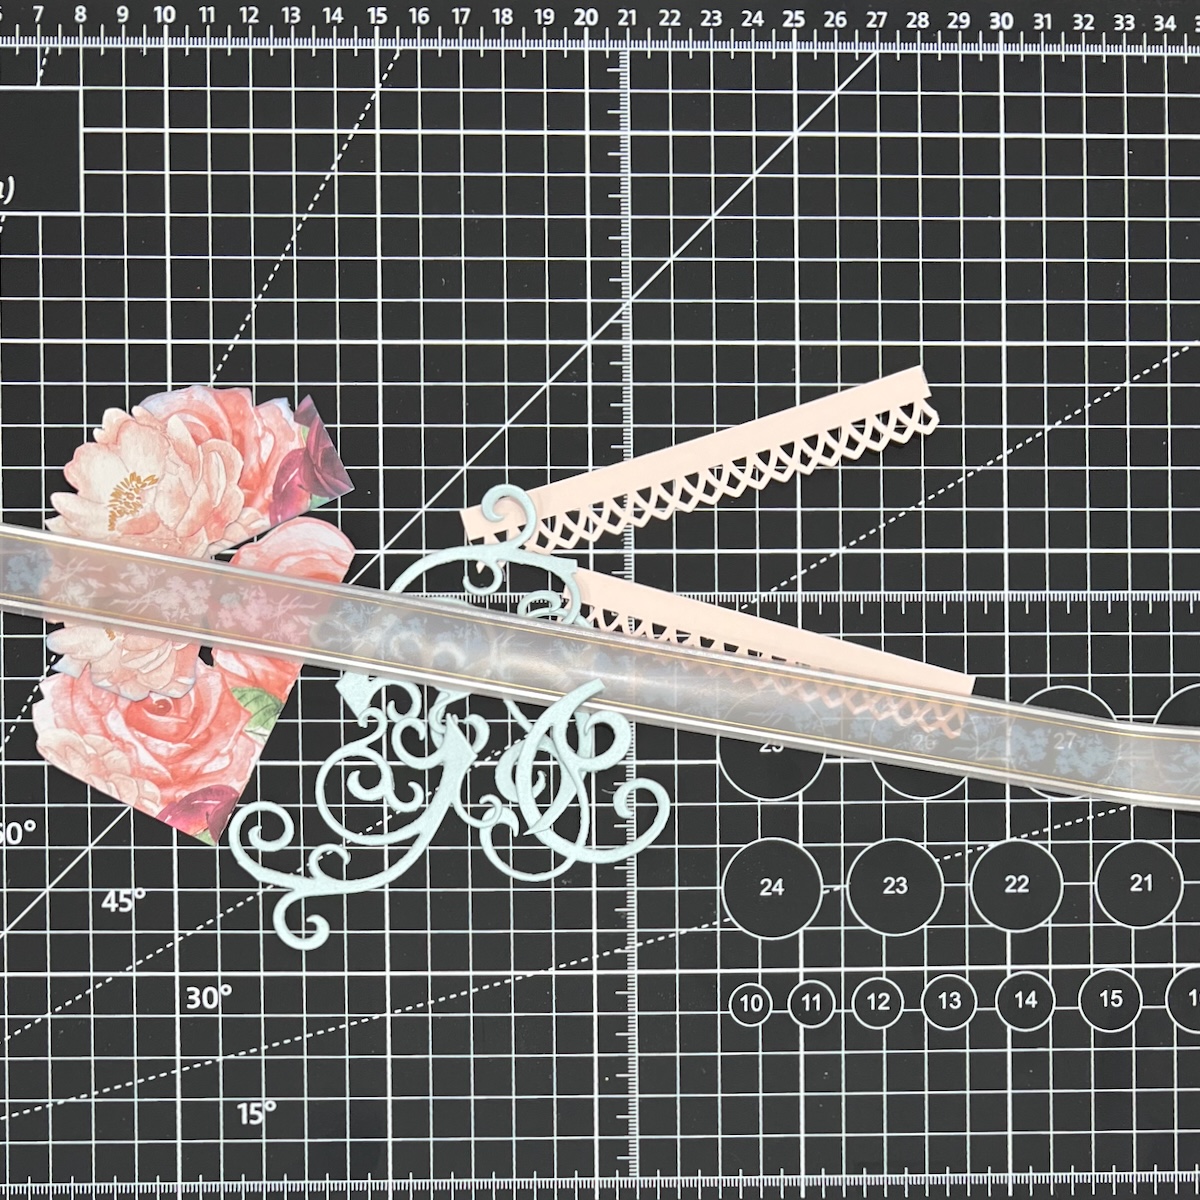
Once I have these pieces laid out it is time to start putting it all together, from the base up.
The flourishes and border sticker were adhered to the base.

The first chipboard cutout is next. I glued the flowers and punched border on top of the cutout. This piece was adhered to the base.

The second cutout is next. I glued the clip art pieces on top. I did add some foam tape to some of these clip art pieces as well. This piece is then adhered onto the first cutout.

Remove the protective film from the acrylic piece and glue the outside edge to the tray.
Paint the third cutout and the Journey Word Title.

Adhere the painted cutout to the tray. Add the word title.
My project is complete.




You can find more Clear Scraps inspiration
by following on social media


