Well, we're down to the wire!
Two more sleeps until Christmas!
I can't wait because it is my grandson's 1st Christmas!
It has been so long since we had a little one around for the holidays.
He's 11 months old and I'm sure we'll all have a lot of fun with him!
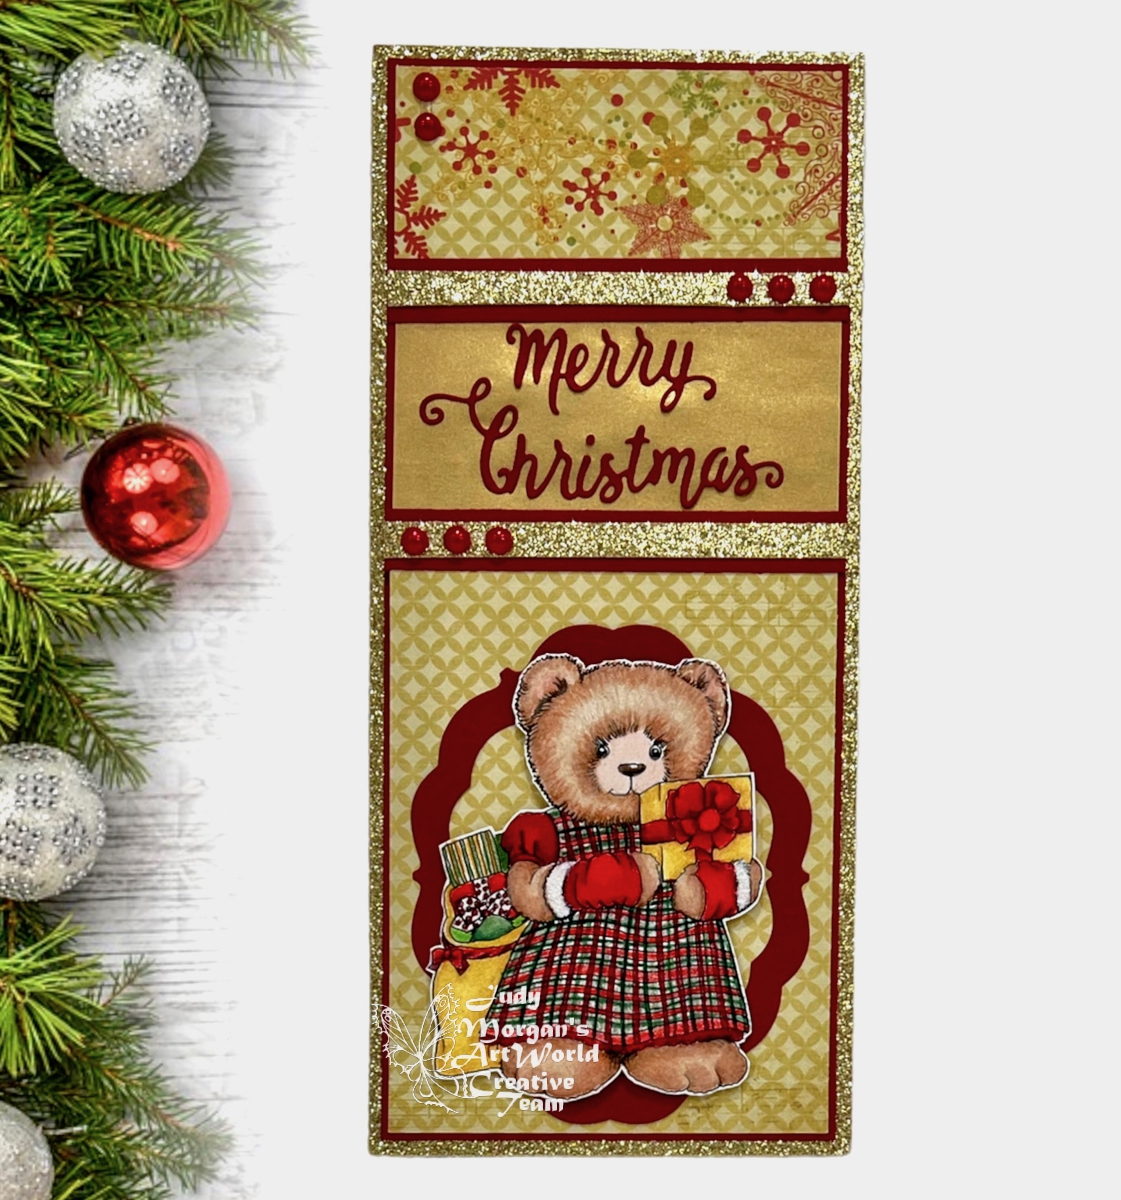
I thought I would pop on this morning with another card I made.
This one was created with Santa Hohoho from the
.jpg)
I colored the b/w digi with Prismacolor Pencils and fussy cut.
The background is comprised of printable papers from the collection,
I created a snow bank on the bottom of the card by
hand cutting white card stock and inking.
The sentiment was die cut using the
I cut the sentiment twice in 2 colors and off set the layers.
Thanks for stopping by and I hope you enjoy your holidays!
***********************************************
Linking to:
Jingle Bells Challenge - Wrapping Up
Most Magical Time of the Year Challenges - ATG Christmas/Halloween
Creative Knockouts - Time to be Merry
CRAFT Challenge - Christmas the Last Stretch
Little Red Wagon - Under Pressure (last minute creations)
Sisterhood of Crafters - Christmas
Try it onTuesday - Santa Claus is Coming to Town
Classic Design Challenge - ATG
_____________________________________________
Challenge Recognition