Hey there! It's Judy here with my latest project for CutCardStock. Putting together a Classroom Door Sign is fun and pretty easy. This is a great idea for those teacher family members or friends you may have.
Sign Base
I am using an MDF scrolled edge sign as the base. It measure approximately 10 x 8 inches.
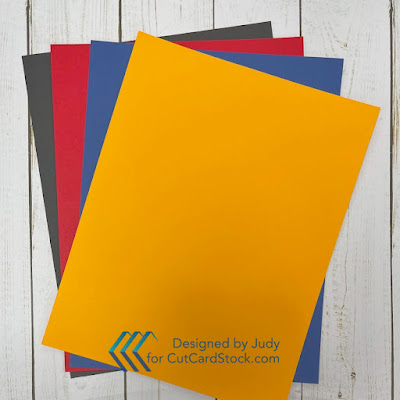
The solid card stocks I am using are DCS Discount Card Stock: Black, Lessebo Colors Premium Cherry RED Card Stock, Basis BLUE Card Stock, Lessebo Colors Premium SUNSET Orange Card Stock.
Cougar White Smooth Card Stock is perfect for printing digital clip art and pattern papers.
Cut card stock and pattern papers to layer onto the base.
Sunset pieces are 9 x 6 3/4 inches and 6 x 6 inches. Black piece measures 8 3/4 x 6 1/2 inches. Red Plaid Print measures 8 5/8 x 6 3/8 inches. Cut the Apple Print to 5 7/8 x 5 7/8 inches.
I die cut a layered, scrolled frame with pieces of Black and Sunset card stock
Decorative Elements
Letters, numbers and banner die cuts are cut out of Red, Blue and White card stock. The clip art is fussy cut.
To spell the teacher's name add the white letters to the banner die cuts. Punch holes in the top of each piece and run twine through. Layer Red and blue numbers and letters for a shadow effect.
Add all of the above elements to the base. Run twine through the holes at the top of the sign and knot in front.
The project is complete.
Thanks for taking a look at my Classroom Door Sign project!
Join us over on the CutCardStock Facebook Page and the newly revamped Facebook Group Creating with CutCardStock for more inspiration.


No comments:
Post a Comment