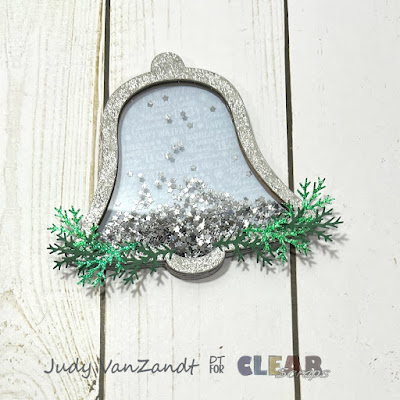
Hi there! It’s Judy here with my latest project for Clear Scraps.
I have created 3 Christmas Shaker Ornaments using a Mini Shaker Bell, Mini Shaker Bulb and Mini Shaker Tall Bulb. Each shaker includes 1-chipboard back, 3 chipboard forms and 1 acrylic divider .
Starting with the chipboard back piece, trace onto the backside of a patterned paper.
Cut out the tracing.
Adhere the paper to the back piece.
Layer and adhere 2 of the chipboard forms.
Next I added color to the front of the 3rd chipboard form with a metallic marker.
Glitter glue was added.
Remove the protective film from the acrylic dividers and adhere to the backside of the chipboard form.
Add shaker pieces to the layered pieces from above.
Adhere the acrylic piece to complete the shaker.
Die cutting was done for the ornament embellishments.
I layered die cuts.
Punched some evergreen sprigs.
Adhered the evergreen pieces to the front of the shakers.
Add the die cuts.
To add hangers, I cut pieces of 1/8 inch wide ribbon and taped to the back of the shakers.
I traced the back of the ornaments onto some glitter card stock and cut out.
Adhere to the back of the shakers.
Project is complete!
Thanks so much for checking out my Shaker Christmas Ornament project!
You can find more Clear Scraps inspiration
by following on social media


No comments:
Post a Comment