Friday, June 30, 2023
Thank You
Saturday, June 24, 2023
Thank You Card
Thursday, June 22, 2023
Fairy Folk
- 3 black and white line drawings
- 3 full colour images
- 6 word images / sentiments
Wednesday, June 21, 2023
Baby Boy Scrapbook Layout
Hey there! It’s Judy V here with a cute baby boy scrapbook layout project created for CutCardStock. I’m a new grandma and have a feeling I’ll be creating lots of scrapbook pages in the coming years.
I’ve used a dinosaur theme which I think is perfect for little boys. The products I used are from a dinosaur digital clip art set found on Etsy at JoKavanaghDesigns. This set also includes 4 patterned paper designs.
Card Stock
DCS Discount Bonsai Green Canvas Texture (12 x 12 used but not available, alternative Scottish Highlands Green 12 x 12) for base and matting
Basis WHITE 80lb Cardstock 12 x 12
Cougar White Smooth CardStock 8.5×11 – I printed the patterned paper, my photo and dinos, trees and grass clip art on this.
Pop Tone GUM DROP GREEN 8.5×11 Discount Card Stock used to print bone clip art to form title.
Background
The 12 x 12 inch piece of Basis White Card was trimmed to 11 1/2 x 11 1/2 inches.
Clouds were created with ink from Crafter’s Companion and a cloud stencil from Newton’s Nook.
A border simulating hills was done by hand cutting the patterned papers and piecing together.
Preparing Elements
The clip art was printed and fussy cut.
Putting it all together
And, we’re done!
I hope you’ve enjoyed this project! Maybe you have some photos that have been sitting around and have been inspired to put them to page.
As always, we would love for you to connect with us over on the CutCardStock Facebook Page and the Facebook Group Creating with Card Stock for more inspiration.
Tuesday, June 20, 2023
Steampunk Girl Lucy
Friday, June 16, 2023
Butterfly Princess
Wednesday, June 14, 2023
Julia Spiri's Adeline
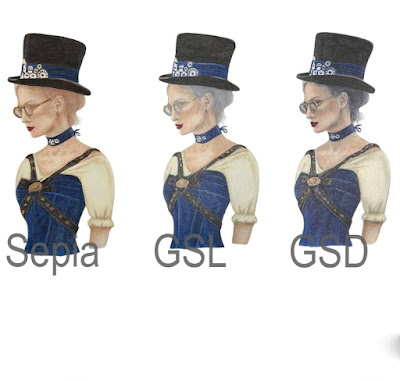
- Grayscale dark
- Grayscale light
- Sepia tone
Fancy Folds for Dad
(listed in alphabetical order)
My fancy fold card is a pop up box card.
Saturday, June 10, 2023
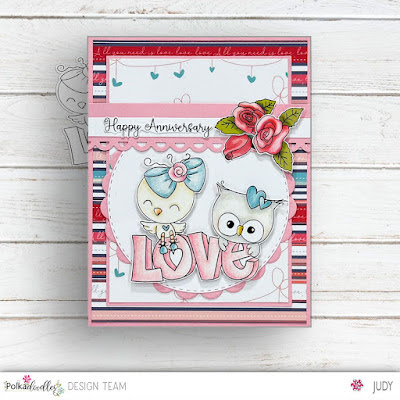
Happy Anniversary Card
Thursday, June 8, 2023
Cafe Elements
- 14 black and white line drawings
- 14 full colour images
- 6 word images / sentiments
Monday, June 5, 2023
Coordinating Card and Envelope
Do you decorate your envelopes to coordinate with your handmade cards?
Hey there! Today I’m sharing a coordinated card and envelope project I created for CutCardStock.
I have to admit I don't usually decorate my envelopes. But, it does add something special to a plain envelope. And, there are many different ways to dress up your envelopes. Mine here was done with stamping, but you can also stencil or dry emboss.
Stamping
I started by stamping with 2 stamps that work well together. The violin and sentiment are stamped on a piece of 4 x 5 1/4 Cougar White Smooth Card Stock. A Leader Opaque 5 1/2 Bar Envelope was stamped with the rose/music staff stamp. I used a Black Noir Finesse Ink Pad from Crafter’s Companion.
Coloring
Both images were colored with Castle Arts Pencils.
Envelope Liner
I decided to add an envelope liner using a piece of pretty patterned paper from my scraps.
The liner piece was trimmed to 5 1/2 x 6 1/4 inches. This will leave the gummed area of the envelope flap uncovered.
Slip the liner into the envelope and fold down the flap to create a crease on the liner paper. I marked the center of the top of the liner and trimmed from that point down to the crease on the outside edges.
Place the liner in the envelope and adhere the top to the flap.
Card
Using Basis RED 80lb Card Stock, I cut a 4 1/2 x 11 inch piece and scored at 5 1/2 inches to create a top folding A2 card base. The violin piece was centered and adhered to the base.
I decided to stamp the outside of the envelope flap with another stamp.
The card fits nicely inside the envelope.
I'm loving the way this turned out and think I will have to start adding something a little extra to my plain envelopes more often.


